Last year for my wedding, I challenged myself to design a prototype for simplicity and elegant wedding. My mission was to buy less and re-use what I have had in my garage. Gold is a rich color, I had to use it carefully for it not to give it an old looks. Diamonds and crystals are simply expensive but I found a way to get the effects within my budget. Everything began with my discovery at DollarTree Store …
Love at the first sight: I cleared their shelf right away when I saw these gorgeous mirror/picture frames. I accessorized it with peacock feather, ribbon and diamond buckle. Drinks labeling were next. I used shiny antique gold paper, semi cloth paper with embossed flower print to cover the bottle original label. The greeting was printed out with laser printer and said: drink and be Marry, cheers !!!. Then our initials. I glued a cherry blossom flower for the accent.
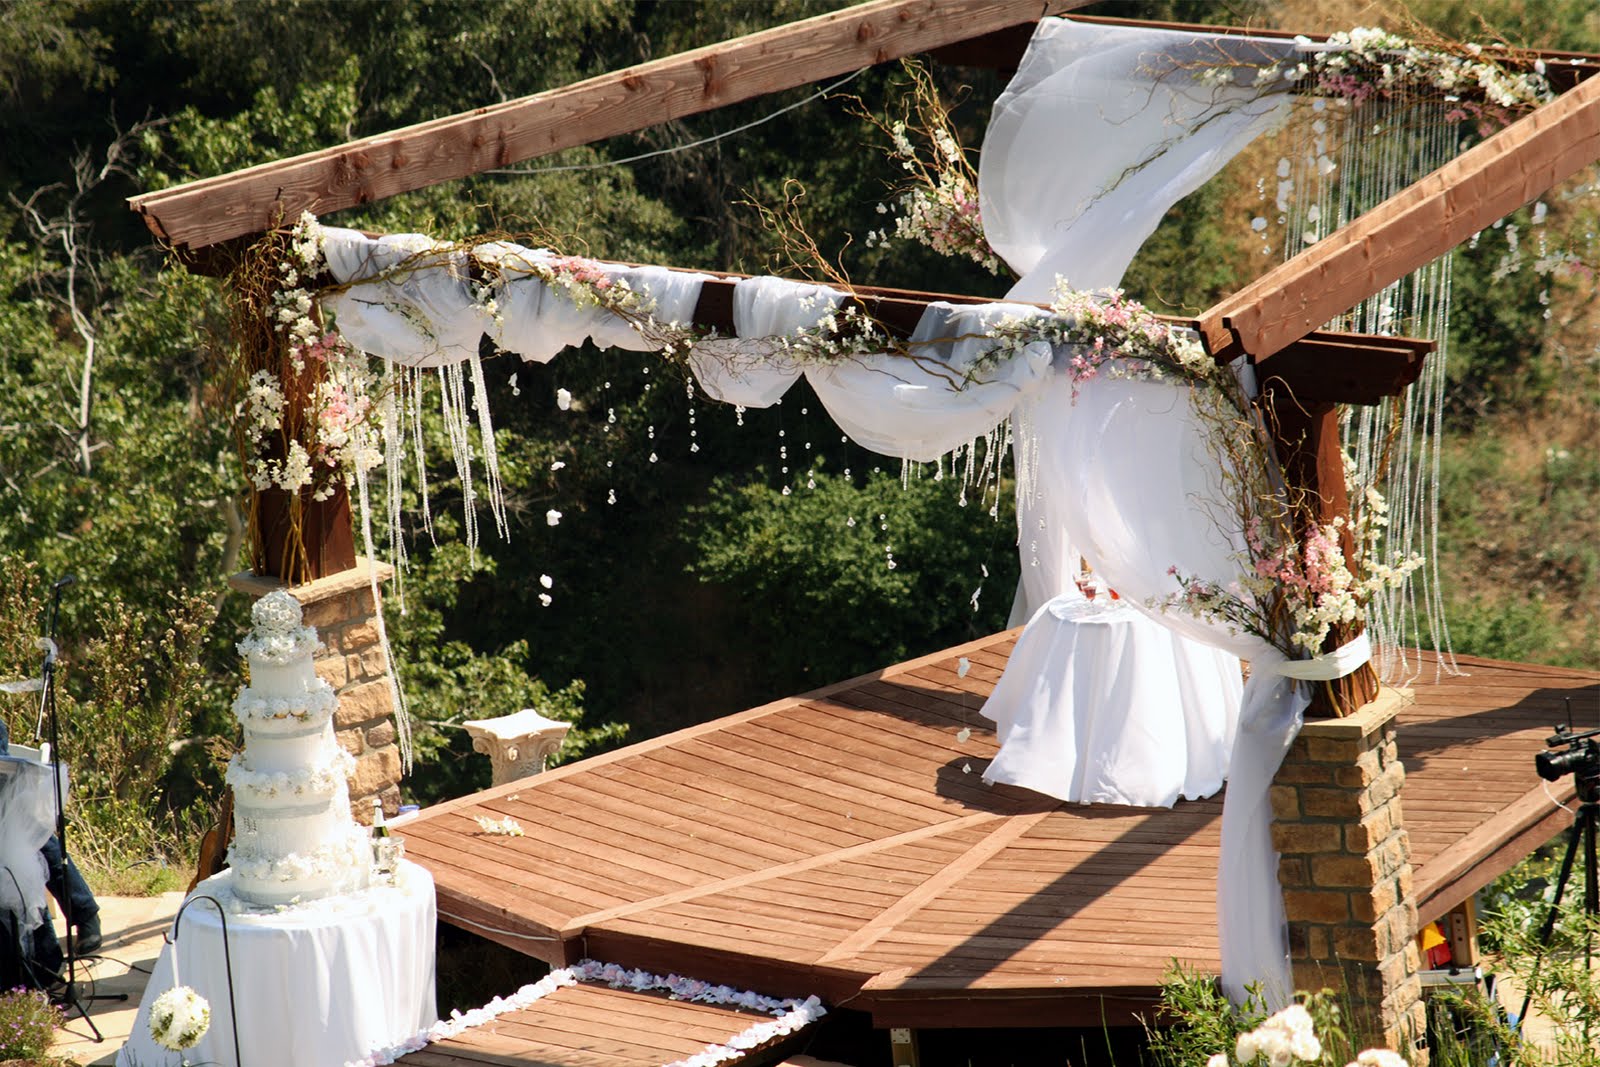
The ceremony,
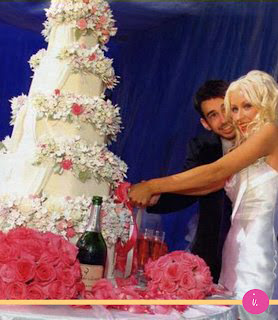
I made individual strands of crystals and satin rose petals; then arrange them in a long wooden stick for easiness of installation on the D day. The whole gazebo was decorated with 9’ long strands of iridescent crystal curtains, individual made strands of crystals and rose petals, about 10 dz. of silk pink and off white cherry blossoms, 8 dz. of white dendrobium orchids and curly willows. Many hands got involved in the installation. Many thanks to my friends and fellow florist.Many people till this day loves my cake tower. It was inspired by Christina Aquilera’s wedding cake. Mine consisted of foam cake with real cupcakes. My parents made the cake topper, my husband assembled the cake pieces, I sew the beads curtain and decorated the whole cake with silk flowers, my friend baked the yummy cupcakes. What a team effort.
Christina Aquillera's wedding cake
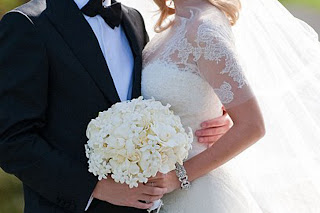
My bouquet. Originally I wanna add gardenia but due to the hot weather I didn’t or else I can say Ivanka Trump copied my bouquet (big smile).
Ivanka Trump's wedding bouquet
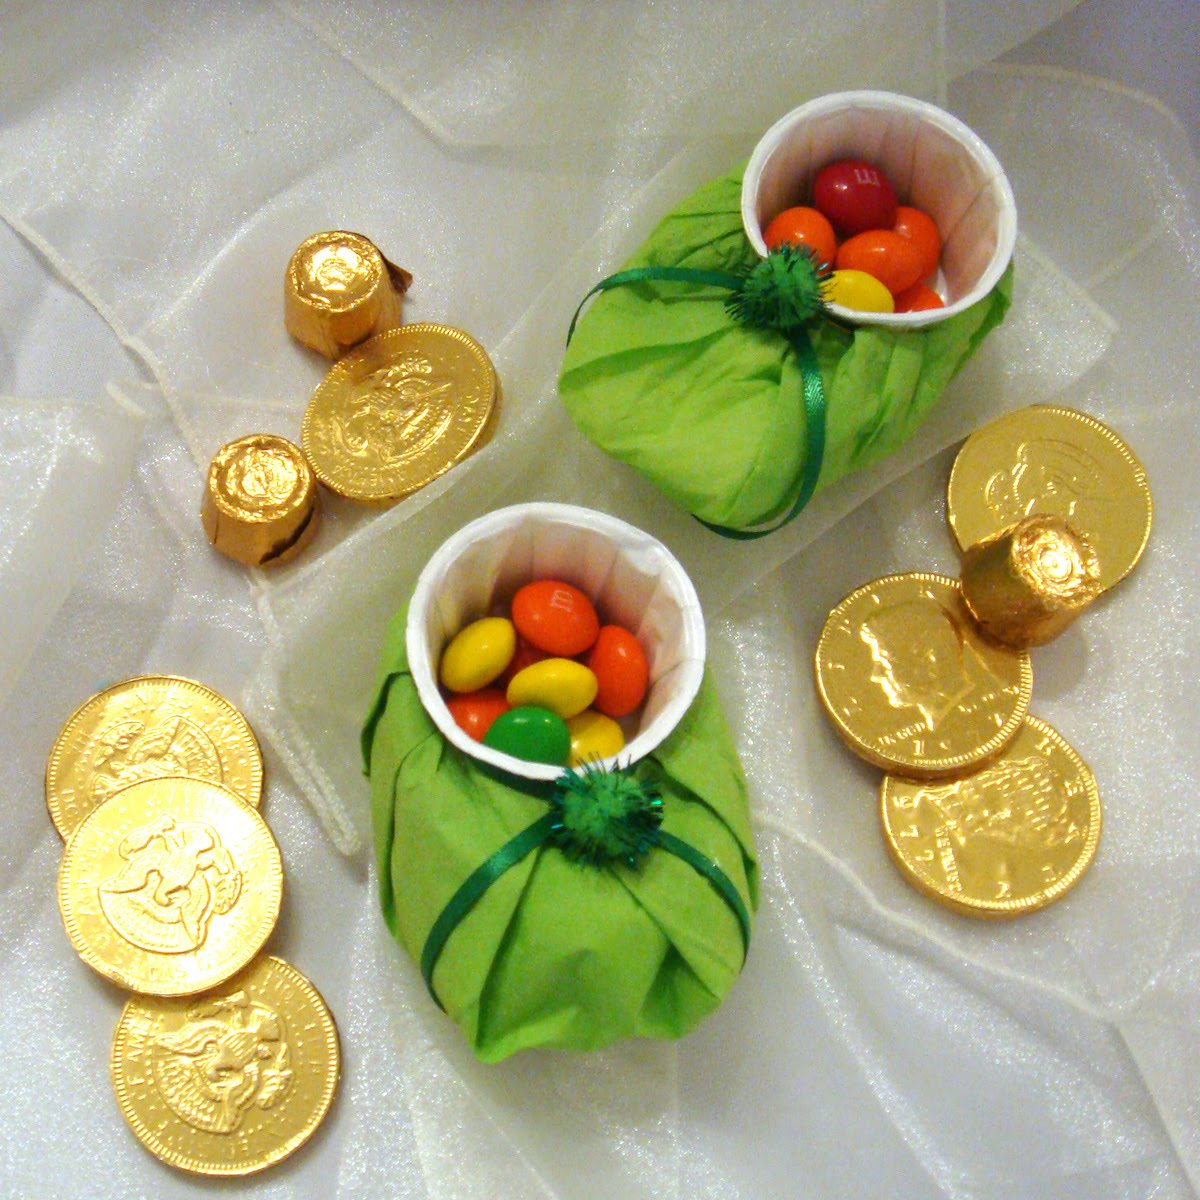
My candy buffet...
See these handmade cones? They were small plastic cups wrapped with nice paper.
Some other treasures found in DollarTree, 99 cents Store and Open Air Market.
Other
hand-made stuff,
Those
are all DIY (do it yourself) I can think about.
If you have questions, feel free to email me. Happy planning!
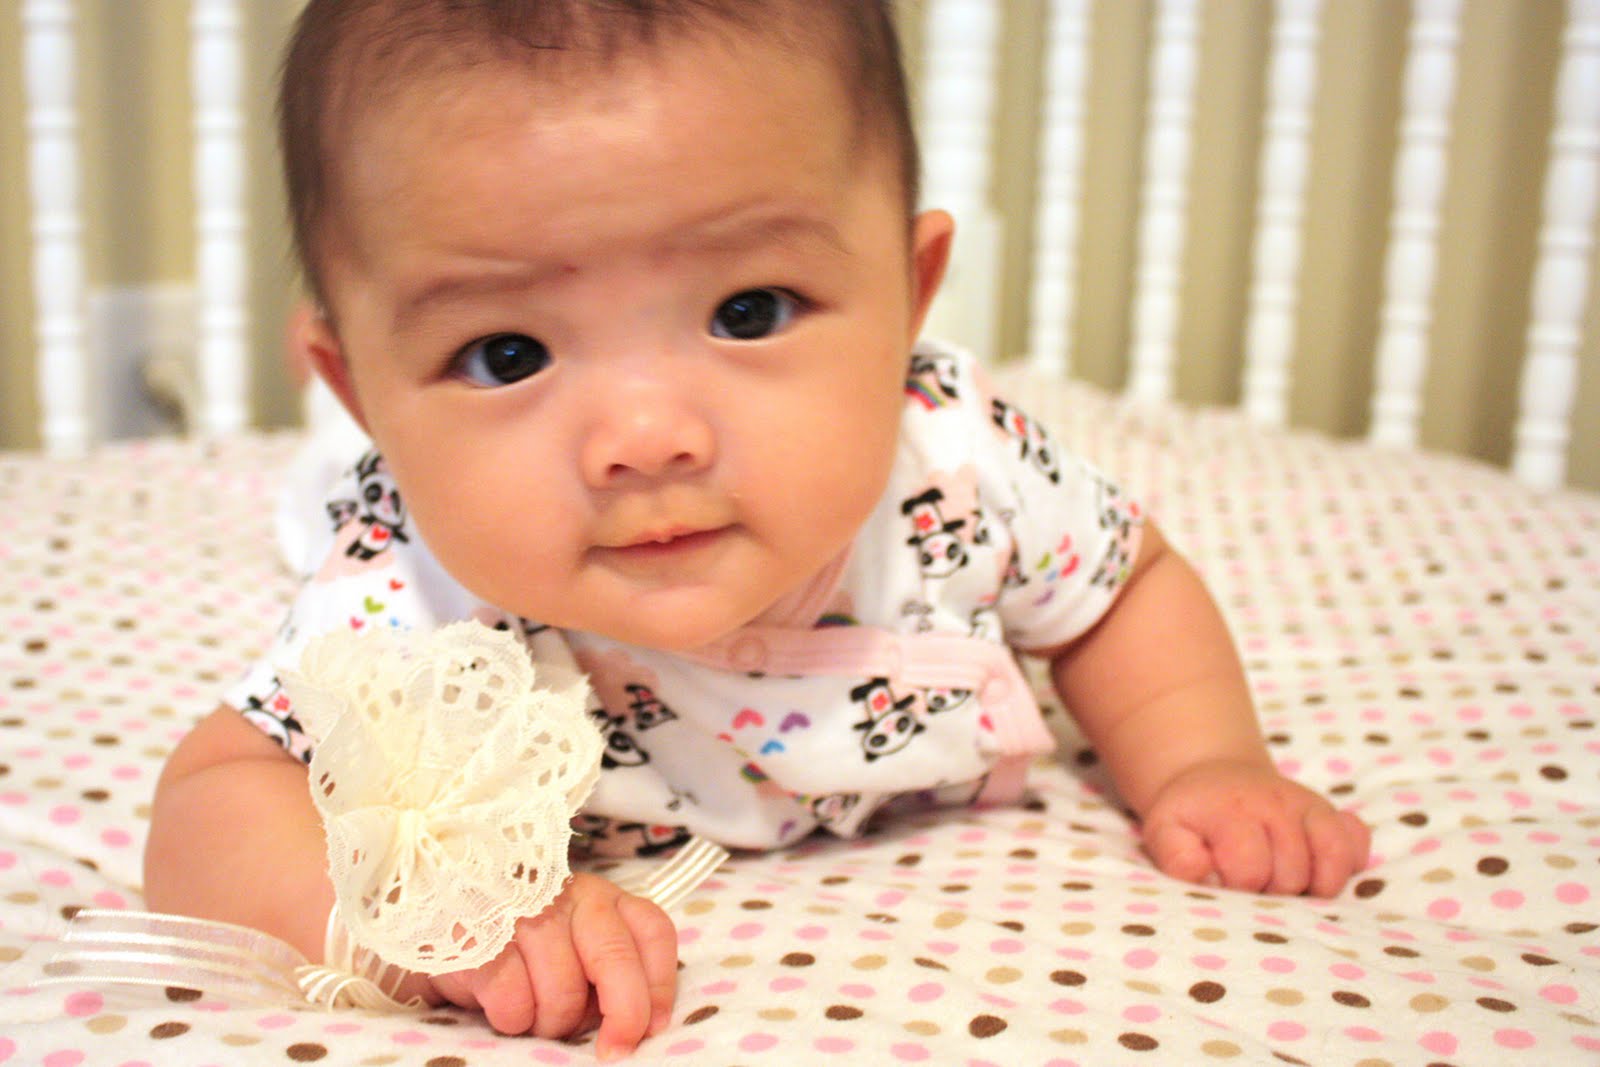
This sweet flower-girl accessory is a wonderful option for a youngster who may not be ready to sprinkle petals from a basket.
We are going to Atlanta this weekend for my niece’s birthday party. This is going to be my daughter, Savannah first party so this week we have been hunting for a party dress. We didn’t have much luck so we settled with a salmon pink dress by Izod. Daddy approved! During our hunting I came across a roll of lace on sale at JoAnn. I remembered right away the flower corsage I saw on Martha Stewart. So I made her one. Unfortunately the lace corsage didn’t go with her dress so she won’t wear it to the party. I got carried away and made several for bidders on Ebay. I am going to put ONE up for grabs here for the first commentator. Yay! Here’s what they look like.
SUPPLIES & TOOLS:
Lace or ribbon, any color, any size
Needle and thread
Fabric glue
DIRECTIONS: (my version)
To make the flower: Beginning at one end, coil the gathered trim, stitch it together along the bottom edge as you go tocreate layered petals of a lush bloom.
For the strap, glue ribbon to the back of the flower.
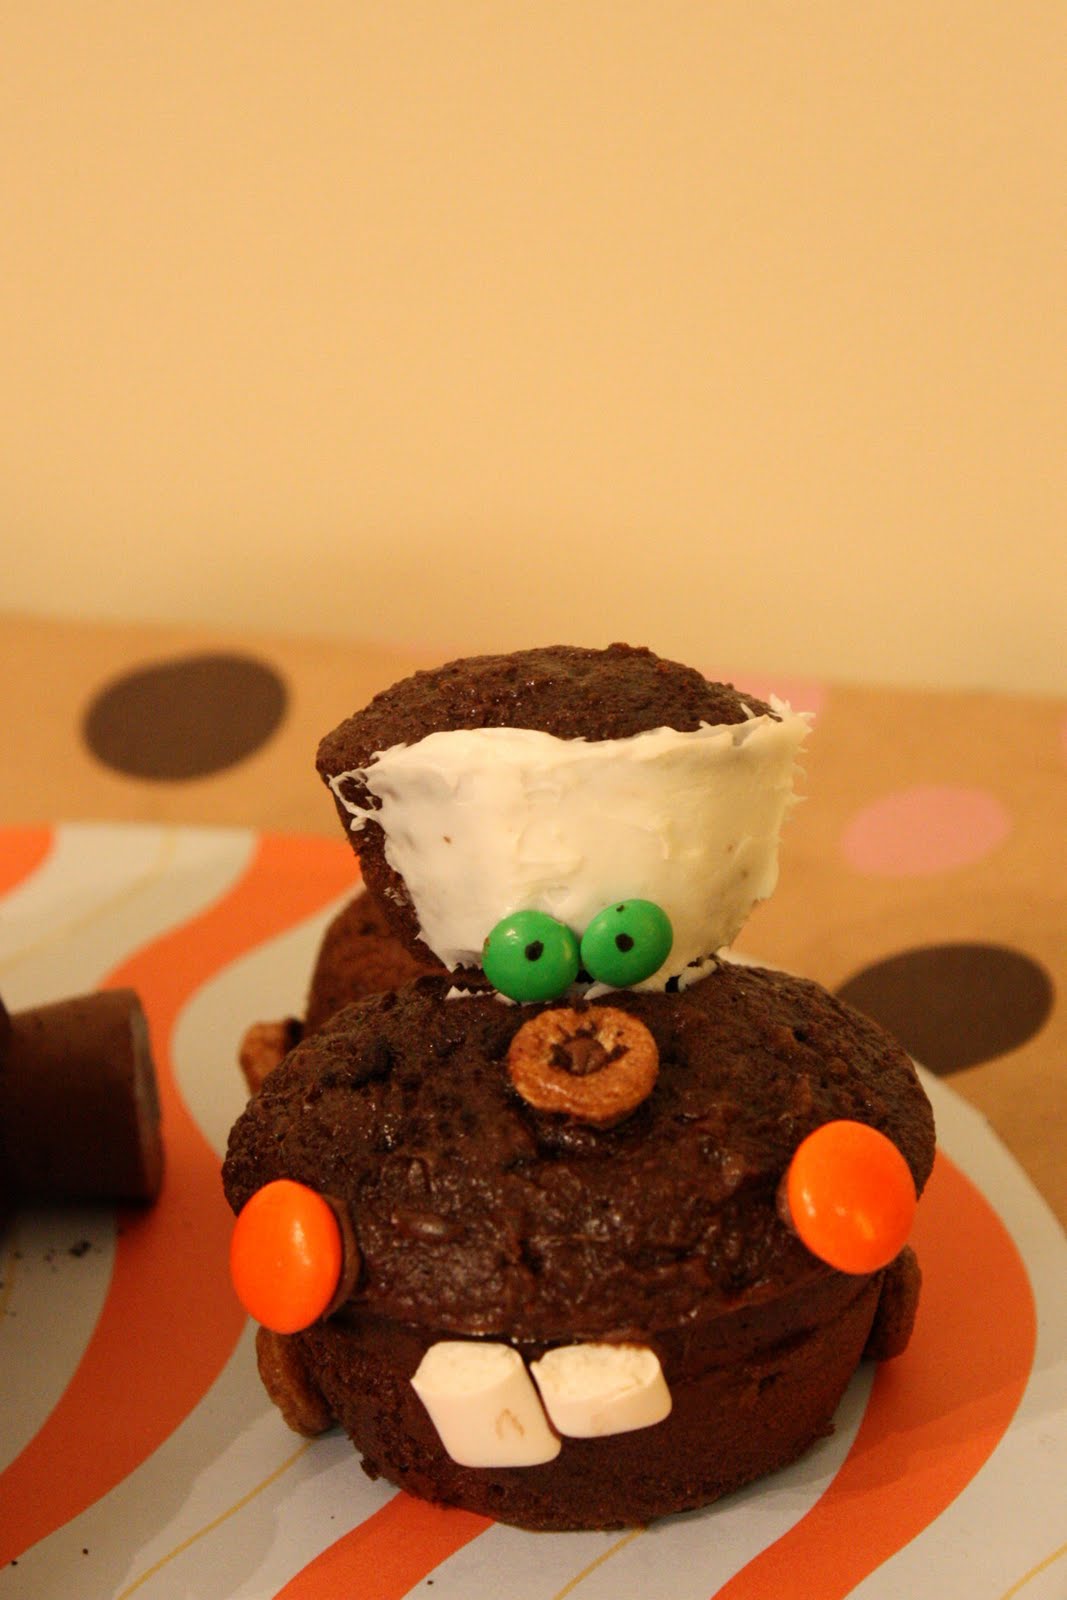
I love Mater and his tall tales. He makes me laugh. He is full of characters and imaginations. Once he is a Monster Truck Mater, then Unidentified Flying Mater, El Materdor, Mater the Greater and so on… Just like me who have to change role as needed: a wife, a mom, a florist, a designer, a cook, a baker wanna be and so on.
My adventure started last week when a friend of mine son was going to turn one. I made my first ‘Signature Petite’: Tow Mater. Got my recipe from Disney website… and off course I simplified it.
This ‘Signature petit; is a party stealer and very easy to make, especially for a sloppy decorator like me….the sloppier the better. I also created a 'thin' Mater for an option…'thin' means less sugar/icing. And he is just as sweet.
SUPPLIES & TOOLS: (make 6 Tow Mater centerpiece)
(1) box cake mix. I prefer chocolate flavor and regular moist.
(2) 16 oz can of milk chocolate frosting
(1) 16 oz can of vanilla frosting
(6) cup Jumbo cupcake baking pan
(12) cup regular size cupcake baking pan
4.44 oz box of Keebler Fudge Shoppe Grashopper Cookies for tires, carburetors and dust crumbs. You can use anything else that looks like tires, such as chocolate coins, or mini Oreos,
Ziploc bag
(12) regular size M&M for headlights. I prefer yellow.
(12) small size M&M for eyes. I prefer green.
(6) Any gum pieces for teeth. I use Eclipse.
(6) 6-10 inch cardboard cake boards
Black edible pen
Toothpicks, optional.
DIRECTIONS: (~Original~ version)
Bake cupcakes as directed on the package. Let cool and refrigerate.
For the dirt: Set aside 30 cookies. Place remaining in a Ziploc bag and crush them.
For the teeth: Cut each gum into two pieces. One piece longer than the other.
For the truck bed: Cut the top off of (6) regular size cupcake and frost with milk chocolate frosting and sprinkle with cookie crumbs. Place cut side down toward the end of the cake board.
For the truck front body: Frost jumbo cupcakes and sprinkle with some cookie crumbs.
For the truck head: Frost the face with vanilla frosting and the rest with milk chocolate frosting. Sprinkle with some cookie crumbs. Attach it to the jumbo cupcakes using frosting.
For the tire and carburetor: Attach cookies as shown using frosting.
For the eyes: Draw a black dot on each eye. You can be creative in making eyes expressions.
Attach the teeth, headlights and eyes using frosting
TOW MATER (~Thin~ version)
SUPPLIES & TOOLS: same as the original version minus chocolate frosting and cookie crumbs. Must use dark chocolate cake mix.
DIRECTIONS: Follow directions. For the face: use vanilla frosting, or white fondant, or just simply white stock paper, whichever easier for you.
~~~ Yada yada yada... don't go anywhere...you still have cupcakes to make :) ~~~
Tow Mater Cupcakes
SUPPLIES & TOOLS
(1) box cake mix. I prefer chocolate flavor and regular moist.
(2) 16 oz can of milk chocolate frosting
(1) 16 oz can of vanilla frosting
(18) cup regular size cupcake baking pan
(18) cup mini size cupcake baking pan
4.44 oz box of Keebler Fudge Shoppe Grashopper Cookies for carburetors and dust crumbs. You can use anything else that looks like tires, such as chocolate coins, or mini Oreos,
Ziploc bag
(36) regular size M&M for headlights. I prefer yellow.
(36) small size M&M for eyes. I prefer green.
(18) Any gum pieces for teeth. I use Eclipse.
(18) cupcake wrappers
Black edible pen
Toothpicks, optional.
DIRECTIONS:
Bake cupcakes as directed on the package. Let cool and refrigerate.
For the dirt: Set aside 18 cookies. Place remaining in a Ziploc bag and crush them.
For the teeth: Cut each gum into two pieces. One piece longer than the other.
For the truck body: Frost regular size cupcakes and sprinkle with some cookie crumbs.
For the truck head: Frost the face of mini cupcakes with vanilla frosting and the rest with milk chocolate frosting. Sprinkle with some cookie crumbs. Attach it to the body cupcakes using frosting.
For the carburetor: Attach cookies as shown using frosting.
For the eyes: Draw a black dot on each eye. You can be creative in making eyes expressions.
Attach the teeth, headlights and eyes using frosting


